My first task this summer was to create useful objects using Tinkercad. It sounds like a simple task; however, I spent a good amount of time pondering about what objects I can 3D print that are "useful." Eventually, I decided on building an egg lamp, which was inspired by Daenerys' dragon eggs from
Game of Thrones.
 |
Daenerys' dragon eggs in Game of Thrones.
Photo from Popsugar |
In Tinkercad, I used two egg shapes, the Voronoi design, and two cylinders to create the egg lamp. I partially followed a
tutorial as I was just starting to learn my way around Tinkercad, but rather than using a ring shape and a square for the bottom, I used a cylinder so that the egg can stand upright.
 |
| This was my final result in Tinkercad. |
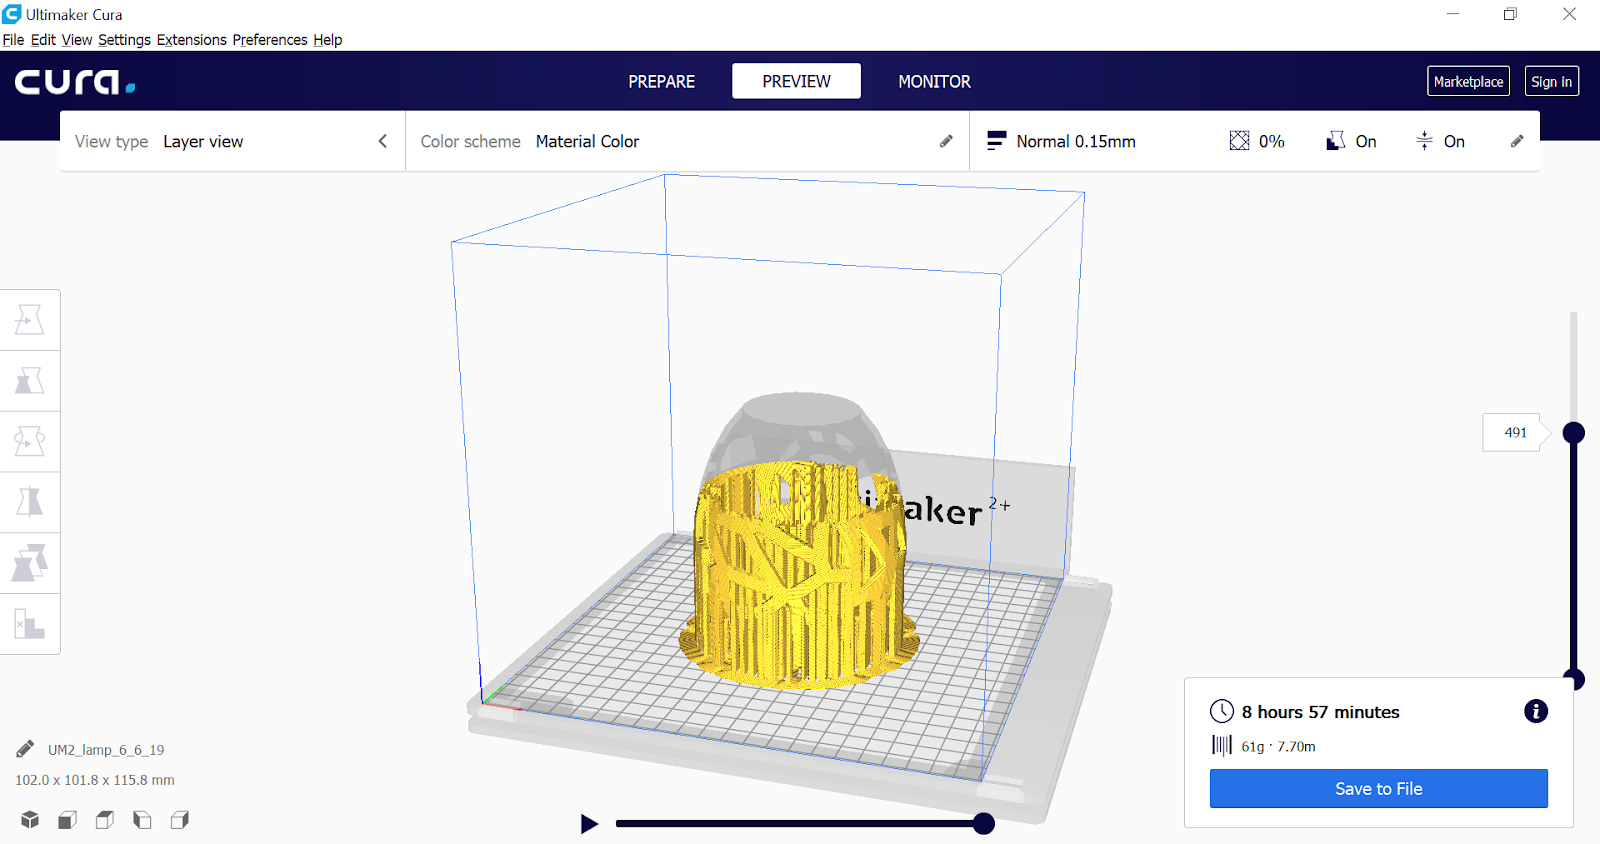
Once I was satisfied with how the egg lamp looked, I had to save it as an STL file and open it in Cura in order to prepare it for printing. In Cura, I am able to adjust the size of the egg lamp and I can determine if supports are needed as well as what kind of supports would work best. Cura also allows me to preview how the 3D printer will print the egg lamp and it tells me how long it will take to print. After making adjustments to the settings as necessary, the final step before printing is to save the file as a G-code and save the G-code to an SD card, which will be inserted into the printer.
 |
| I can change the size of the egg lamp in Cura. |
 |
| Cura allows me to slice and see how the 3D printer will print the egg lamp. |
Before printing the actual size of an object, it is important to print a smaller version of it in case something does not turn out as expected. I printed a mini version of the egg lamp using the Flashforge Creator Pro 3D Printer.
For the most part, the mini version printed perfectly; however, I decided to make minor changes to overall enhance its appearance. I adjusted the Voronoi designs to ensure that they would not overlap and instead of using a cylinder for the top opening, I used a sphere to create a smoother edge. For the final print, I decided to make the egg lamps between 3.5 to 4 inches tall, and it came out amazing.
 |
| String lights were used to give the egg lamp an icy blue look. |
 |
| Tealights fit into the egg lamp as well. |
The egg lamp is a beautiful piece of decor that can be placed anywhere, such as a bedroom or living room. I find it useful in my bedroom at night when I'm reading
Game of Thrones.
The egg lamp was only one of the two ideas that I had for printing useful objects. The second object, which is a coin jar, is not as intriguing as the egg lamps, but it definitely useful as most people have one. The process of building the coin jar in Tinkercad was not difficult at all. I simply used two cylinders to construct the base, making one of the cylinders slightly smaller than the other. I then made the smaller cylinder a hole and used the align feature to place it perfectly inside the other. The lid was also created with two cylinders, but I flatten the cylinders significantly. One cylinder was made smaller and was placed on top of the other cylinder. In order to ensure that the lid fit into the base, I made the smaller cylinder one millimeter smaller than the inner cylinder of the base while the bigger cylinder is the same size as the outer cylinder of the base. Lastly, to complete the lid, I adjusted the size of a box to give it a rectangular shape and made it a hole to have it serve as the opening for the coins to be inserted into.


 |
| On the left is the prototype and on the right is the actual size of the coin jar, which is about 5 inches tall. |
Although the coin jar is not as attractive as the egg lamps, it is useful when it comes to saving money. Instead of carrying change in your wallet, put it in the coin jar and after several months, you might find that you have a hundred dollars or more saved!


Comments
Post a Comment